Dec 13, 2009

Solitude - Charcoal art - 9th November 2009 - Step by Step

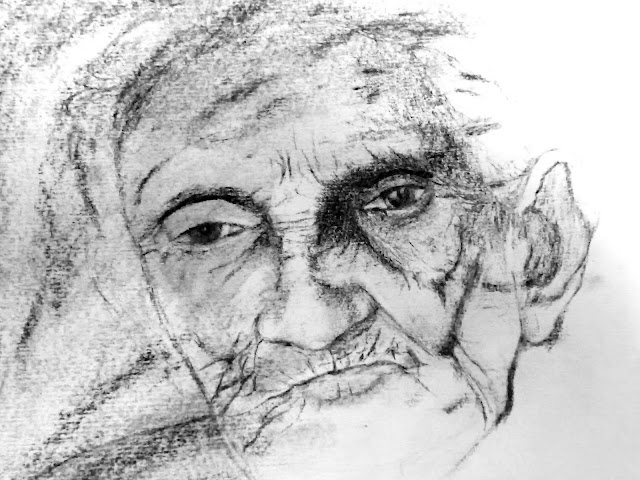
Charcoal art of an old lady
Step 1

Charcoal art Solitude Old woman Old age

  • Tried compressed charcoal as you can see in the top left corner. Dint work well actualy. Now I know i have to use vine charcoal. I was actually trying to increase the grey level.

Charcoal art Solitude Old woman Old age
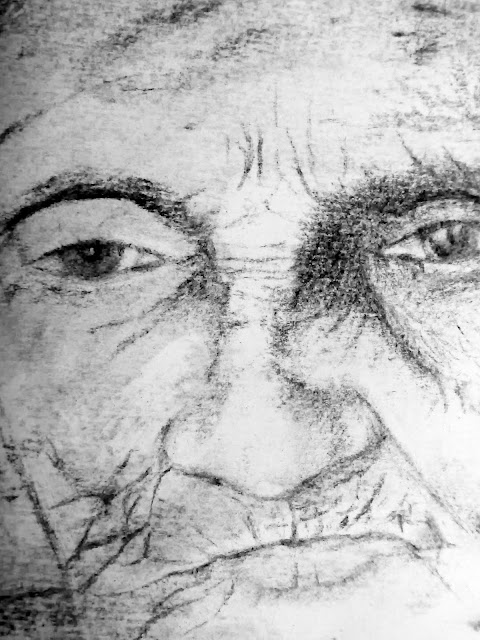
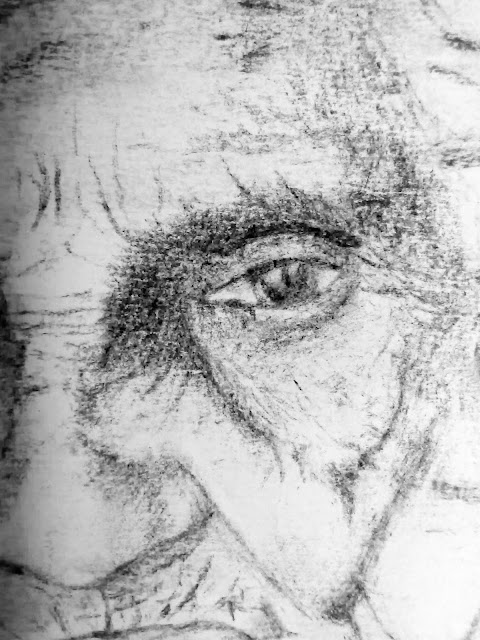
  • Closer look at the eyes
Step 2

Charcoal art Solitude Old woman Old age
  • Right ear and Jaw are big. More features, Hair have been added
Step 4

Charcoal art Solitude Old woman Old age
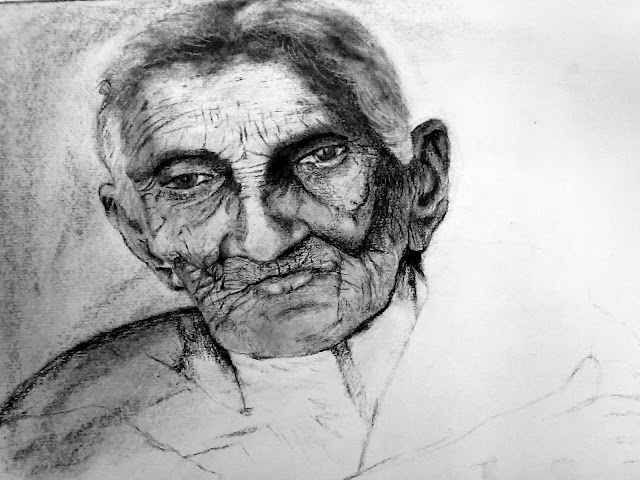
  • Fixed both of them. Increased the gray level. All features retouched. Time to go for the background and rest of the body.
Step 5


Charcoal art Solitude Old woman Old age
  • Half way through with the background and the hands
Final

Charcoal art Solitude Old woman Old age
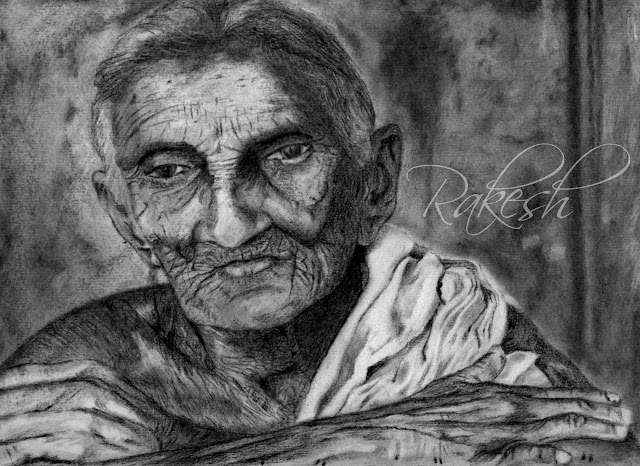
  • Background Enriched, All features retouched. Heavy use of ear buds to spread compressed charcoal. Overall gray scale adjusted.

Nov 5, 2009

Raja ravi varma's Oil painting - "in contemplation"

Raja Ravi Varma Oil painting in contemplation
In contemplation
This my personal favorite from all of Raja Ravi Varma's Oil paintings. It portrays a female in contemplation brilliantly by adding the right mood to the picture. Raja Ravi Varma is very famous for his depiction of Indian females as being graceful, deep, strong and traditional. A traditional Tamil woman is expected to have Acham (fear), Nanam(sense of shame), Madam(stupidity), Payirpu (fertility, shudder with a fear). Raja Ravi Varma has described it in many of his paintings. Google about them if you are free. The fourth quality is a very interesting one though. It says that a female will instinctively know if a man looks at her, even if she is not looking at him (perhaps a safe guard by nature !!!). She also spots ogling men and lustful looks pretty easily. 
Disclaimer : I don't own copyright for this image. This image is not indented for commercial use  

Oct 16, 2009

Megan Fox - Charcoal Art - Continued from 30% of work done


It was about 2pm and i was looking at the work that i had done two days back and it was a real mess. The shades under the eyes were too dark, the nose had its own darker shade and the lips were moved to the left. I also noticed that the left eye was a little lower than the right. 
Now you should know the problems i faced using charcoal from :
so here i was totally lost. The female in the video was pissing me off even more, by then she had completed most of the features. I also noticed that some of the charcoal had smudged out of the sketching area.
Lesson 1 : Finish the entire work in a single session and apply the fixative (Recommended). If it happens that you have to work in sessions there is something called the bakery paper which you can use to save the art from smudging. You must have seen it in bakeries, they use it to cover cakes.
Lesson 2 : Clean you hands once in 30 minutes (and obviously before you start anything). My hands would become blackish of charcoal and the whole drawing area becomes dirty. You can also opt for a smudge guard (www.smudgeguard.com) to reduce the effects of smudging (As of now no idea where i can get it in India).
Lesson 3 : Place a sheet of paper under the page which you are currently doing and also use it to protect the previous one. Also use one to cover part of the art work while doing the other portions to avoid you hands touching them.
So i had only one option and it was to erase the left eye and also to slice up half the lips. So I did erase lots and then i felt something was finally working out. I cut the eraser in to pieces and started working on the places where i felt the tone was darker than i wanted. It worked out as it was easy to erase charcoal. And it gave a more blended look. Sharper pieces of eraser for more sharper edges and flat portions of eraser for blending.
Lesson 4 : Use white plastic eraser as its common among artists. Other erasers damage the paper and also leave the paper yellowish. Electric eraser are also available (not available in India though :-((( ).
Lesson 5 : You do more charcoal art work with eraser than you do with the charcoal pencil, compressed charcoal or charcoal sticks. Its an iterative process. First an attempt is made to bring the required effect or shade or shape using charcoal then the eraser is used to correct some portions and some effects come only out of the eraser and not through the pencil. You can always get a lighter tone by applying less pressure on the pencil and also by erasing. So two options you have. I would suggest to use both to get the effect.
Lesson 6 : Be always ready to erase 50% of what you have done. More than that, trash it and start fresh.
So now that i have learned that eraser plays an important part in charcoal art, i started to do the eyes and lips all over again. I started looking at the angles and proportions and found various places where i had sketched without even thinking. I remember myself being very meticulous with respect to proportions and angles long time ago. Damn me how much have i forgotten ?. So finished with the eyes the lips and the over all shape was now good.
Lesson 7 : Never forget Angles, Proportions and Tones. Double check and be sure you have gotten them right.
Hmmm plenty of lessons that i have learnt now and in general an artist has to be very patient, poised and very clear about what is required. One should always take  as much time he wants to get the desired effect.
Lesson 8 : Frustration = Errors
Another thing that i forgot to mention is blending. Since the paper is rough the charcoal is not applied uniformly you need some thing to make all that shade appear blended together. This is where something called a Tortillon is used. I dont have it with me i use some thing similar to that. I figured out how to use ear buds to remove excess shade. It is also useful to apply mild tones in places where you need (Previously artists used to use their fingers for this purpose which is highly inefficient). Save them for your next piece of art. Will post a detailed illustration later.
Lesson 9 :  Blend the shades together to make it look glossy and shiny.
As of now i am not fully equipped. Am still searching for rest of the charcoal art tools so will put a clear list of all items i have once i get them. Am like satisfied with the output thought is seldom looked like megan fox. Its like ok for first try.
To sum it up in one line. Apply charcoal every where and correct it with eraser.
Check the final result here :
Megan Fox - Charcoal Art - 11th October 2009

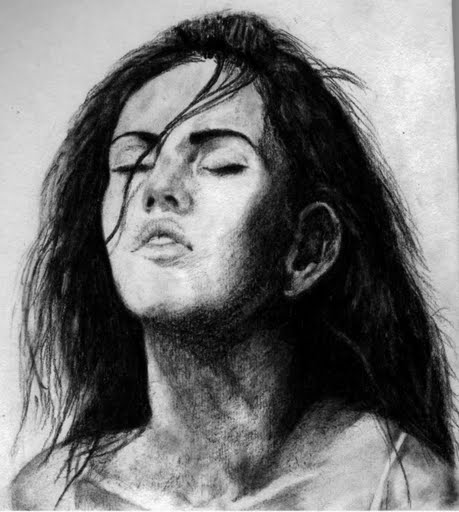
Charcoal art of Megan fox:
Megan Fox Charcoal Art Rakesh
For a bigger size image visit : http://picasaweb.google.com/roby.rakesh/Charcoal#5391756486784704418
The base image of Megan fox I used:
Megan Fox Charcoal art
The Charcoal art tutorial video of Megan fox:
by theportraitart.com

Charcoal - General experience, Difficulties


Since this is the first time I am using charcoal there are a lot of peculiarities I noticed.
  1. Charcoal cant be used with polished paper. It needs a rough surface. I had to look out for a sketch book. And again either India is poorly equipped or I am ignorant about the places, it took a long time to locate a proper Art materials supplier. Finally found one in Chennai, Parrys corner, Giri emporium.
  2. Charcoal needs more control. You cant even draw a straight line or a sharp line. It just gives you a wide line. Its not as flexible as graphite.
  3. Charcoal pencils are difficult to sharp. Had a tough time sharpening my pencils, at one stage I even thought of continuing with charcoal sticks. Planning to get a mechanical or electric sharpener.
  4. Getting the right tones. Charcoal has its own mind, kinda unpredictable. It does what it wants to do. You will never know what tones will come out of it. You need lighter tones to make the nose look 3d but it screws up everything by making it darker. Its however easy to do hair portions with charcoal.
  5. Charcoal makes the entire setup dirty and clumsy, so be more diligent and organised.

Sep 24, 2009

First Charcoal Art

Today I tried my first charcoal art. I had bought some stuff from chennai, Giri emporium, paris corner. I also tried to take a video of it, dint come well though (scraped the vid :-(( ). I feel like I am running short of tools for charcoal art. Some one please give me some useful tips and tools that I can use with charcoal. Actually I was not able to get the blending right. I was trying to sketch megan fox and its sad that it hardly resembled her :-(. Stay tuned for the pics and more info. 

Sep 11, 2009

First poster painting

Today I did a rough painting with poster colors. After a long time I am using all those stuff. Had to literally dust them and revive the chemicals. So this one took less time and it was a very rough one. Am yet to scan it so bear with me for lack of visuals. More to come in the coming days so stay put as I hunt for art accessory shops wanting to grab all the stuff I have been wanting for a long time. Wish me good luck. Good night people.

Feb 20, 2009

I am back !!

So after about three years since my last pencil sketch , I am back to pencil sketching. I am just trying to use charcoal materials as of now. Lets see how things work out. I don't know how my interest towards sketching dropped down, may be because I was getting too obsessed with the people I sketched. Anyways I figured it out now. More info to come.